JnK Plugins
How to Set Up Automatic Internal Linking in WordPress
Internal links are one of the highest-leverage, lowest-glamour parts of on-page SEO. When you link from one post to another, you spread ranking signals between your pages, you help search engines understand how your site is structured and which pages matter most, and you keep readers moving deeper into your content instead of bouncing back to Google. A well-linked site simply reads as more authoritative — to both people and crawlers.
The catch is that doing it well by hand is a grind. Every time you publish, you’re supposed to remember which older posts are relevant, dig them up, and drop in natural anchor text — and then go back and link the new post from those older ones too. Across a few hundred posts, that’s the first task that quietly gets skipped. This tutorial walks through automatic internal linking in WordPress using JnK Linkweave (formerly Automatic Linker), a self-hosted plugin that does the tedious part for you without shipping your content off to a cloud black box.
Still deciding which tool to use? Compare your options first in our roundup of the best WordPress internal linking plugins — this is the hands-on how-to guide, and it assumes you’ve already picked JnK Linkweave and just want it set up correctly.
Why JnK Linkweave (and why “self-hosted” matters)
JnK Linkweave analyzes your content with a transparent TF-IDF and cosine-similarity engine that runs entirely on your own server. In plain English: it reads what your posts are actually about and scores how related they are to each other, then surfaces the strongest internal-link opportunities. There’s no per-suggestion metering and no SaaS platform holding your data hostage — the ranking math is understandable and it stays on your infrastructure.
The free core — a free download from us — gives you an editor-sidebar panel with ranked internal-link suggestions as you write, unlimited auto-linking rules (map a keyword or phrase to a target URL and it links automatically), and read-only orphan-content and broken-link reports. The Pro upgrade (from $59/yr or $239 lifetime; Freelancer $99, Agency $199) layers on bulk URL changes, one-click broken-link repair, CSV export of the reports, and optional AI re-ranking via your own LLM key. For most of this tutorial, the free version is all you need.
Step 1 — Install JnK Linkweave
- In your WordPress dashboard, go to Plugins → Add New.
- Search for JnK Linkweave.
- Click Install Now, then Activate.
That’s it — no account signup, no API key, no external service to connect. Once it’s active you’ll see an JnK Linkweave section in your admin menu and a new panel available inside the block editor.
Step 2 — Let it index, then use the editor sidebar
On first activation, JnK Linkweave indexes your existing posts and pages so it has a map of what everything is about. On a small site this takes seconds; on a large site give it a few minutes to finish in the background. Indexing is what powers the similarity scoring, so it’s worth letting it complete before you rely on suggestions.
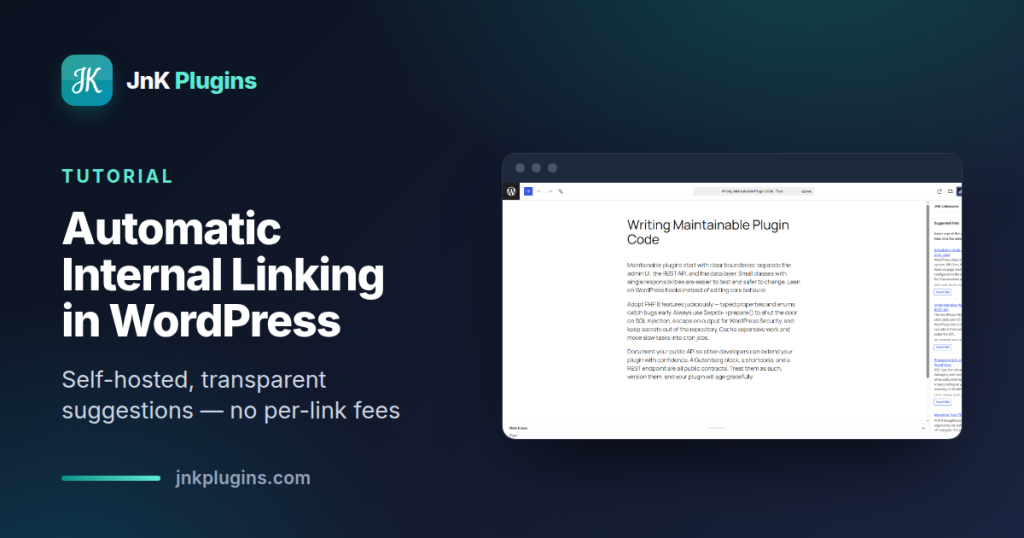
Now open any post in the editor and look at the JnK Linkweave sidebar panel. As you write (or on an existing draft), it shows a list of ranked internal-link suggestions — other posts on your site that are topically related to what you’re working on, ordered by relevance. Review each one and insert the links that genuinely fit the sentence you’re writing. You stay in control: nothing gets linked without your say-so, so you can skip suggestions that would feel forced.
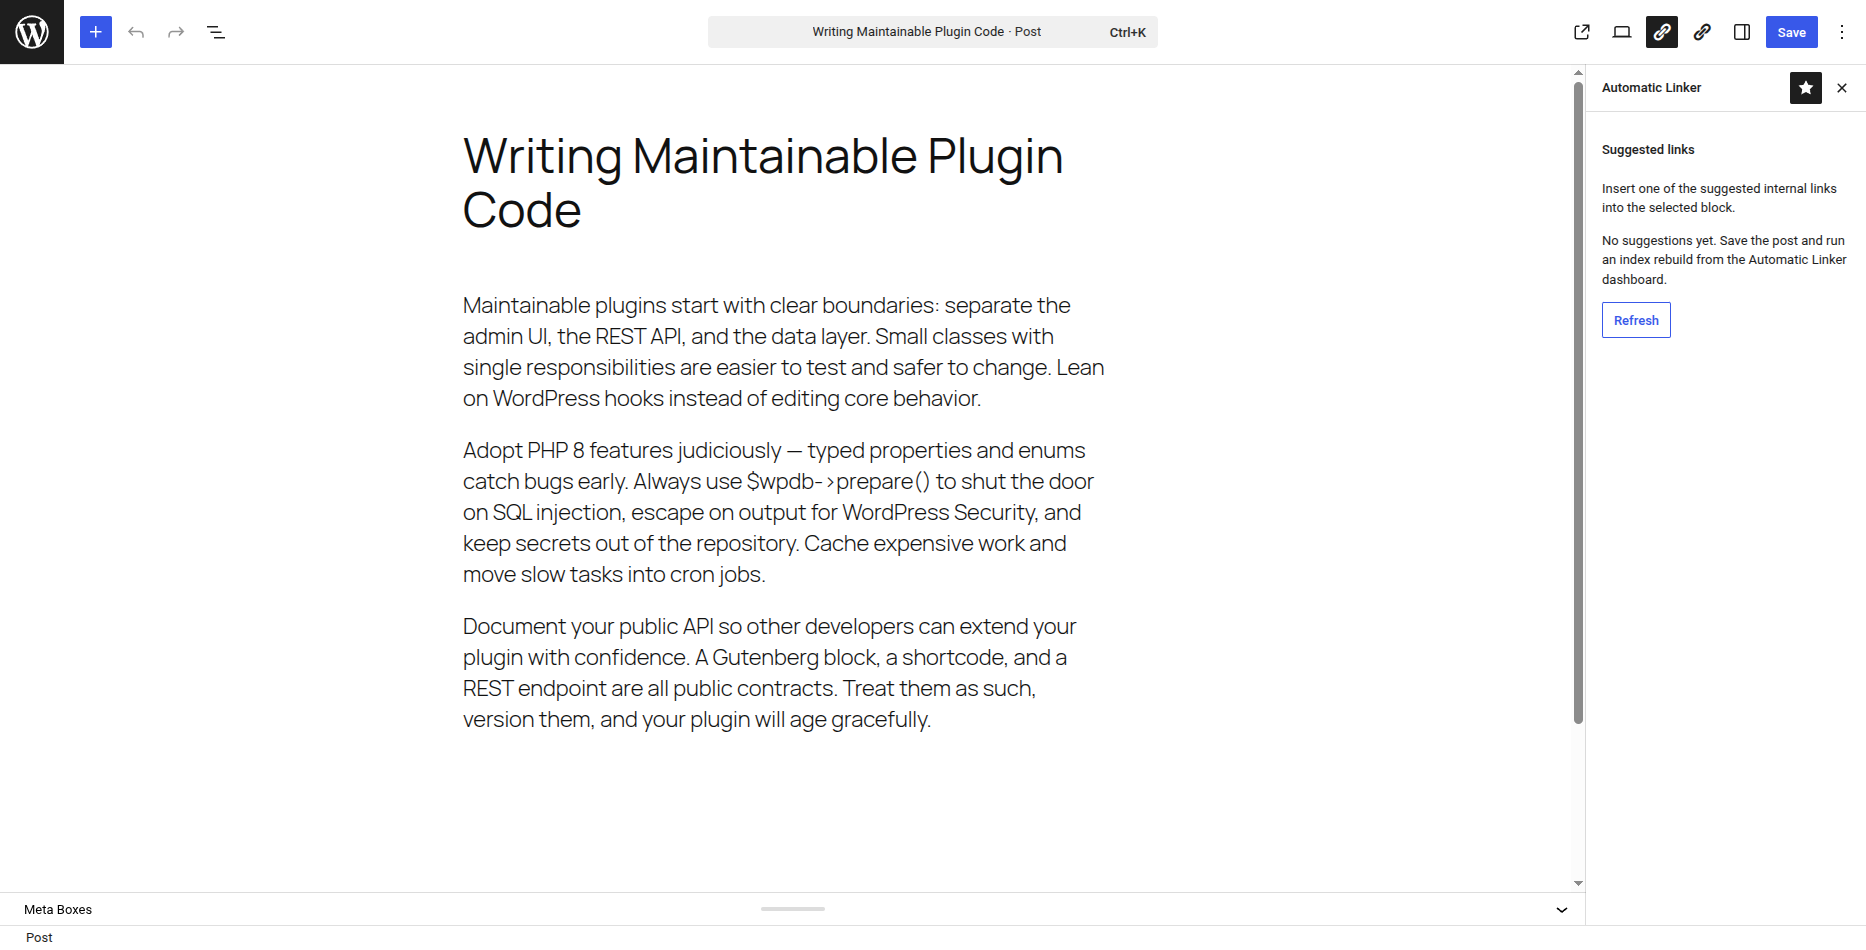
A good habit is to run through the sidebar suggestions once when drafting and again during your final edit pass. Two or three strong, relevant internal links per post is usually plenty — the goal is helpfulness, not volume.
Step 3 — Create auto-linking rules for priority keywords
Suggestions are great for one-off, in-context links. But for your cornerstone pages — the ones you always want linked whenever a specific phrase appears — set up auto-linking rules instead. A rule maps a keyword or phrase to a target URL, and JnK Linkweave will link that phrase automatically wherever it shows up across your site.
- Open the JnK Linkweave rules screen.
- Add a rule: enter the keyword or phrase (for example, your main service term or product name) and the URL it should point to.
- Repeat for each priority page. The free version supports unlimited rules, so you can cover every cornerstone page you have.
One important setting to configure: a sensible maximum number of links per phrase or per post. Auto-linking rules are powerful, and without a cap the same keyword can get linked a dozen times on one page, which looks spammy and dilutes the value of each link. Setting a conservative max (often just one link per phrase per post) keeps the linking clean and natural.
Tip: Reserve auto-linking rules for high-value destinations — pillar posts, key product or service pages, cornerstone guides. Let the editor-sidebar suggestions handle the long tail of contextual links.
Step 4 — Find and fix orphan content
An orphan is a post or page with no incoming internal links — nothing on your own site points to it. Orphans are a real problem: search engines discover and value pages partly through internal links, so an orphaned post is harder to crawl and tends to underperform no matter how good it is.
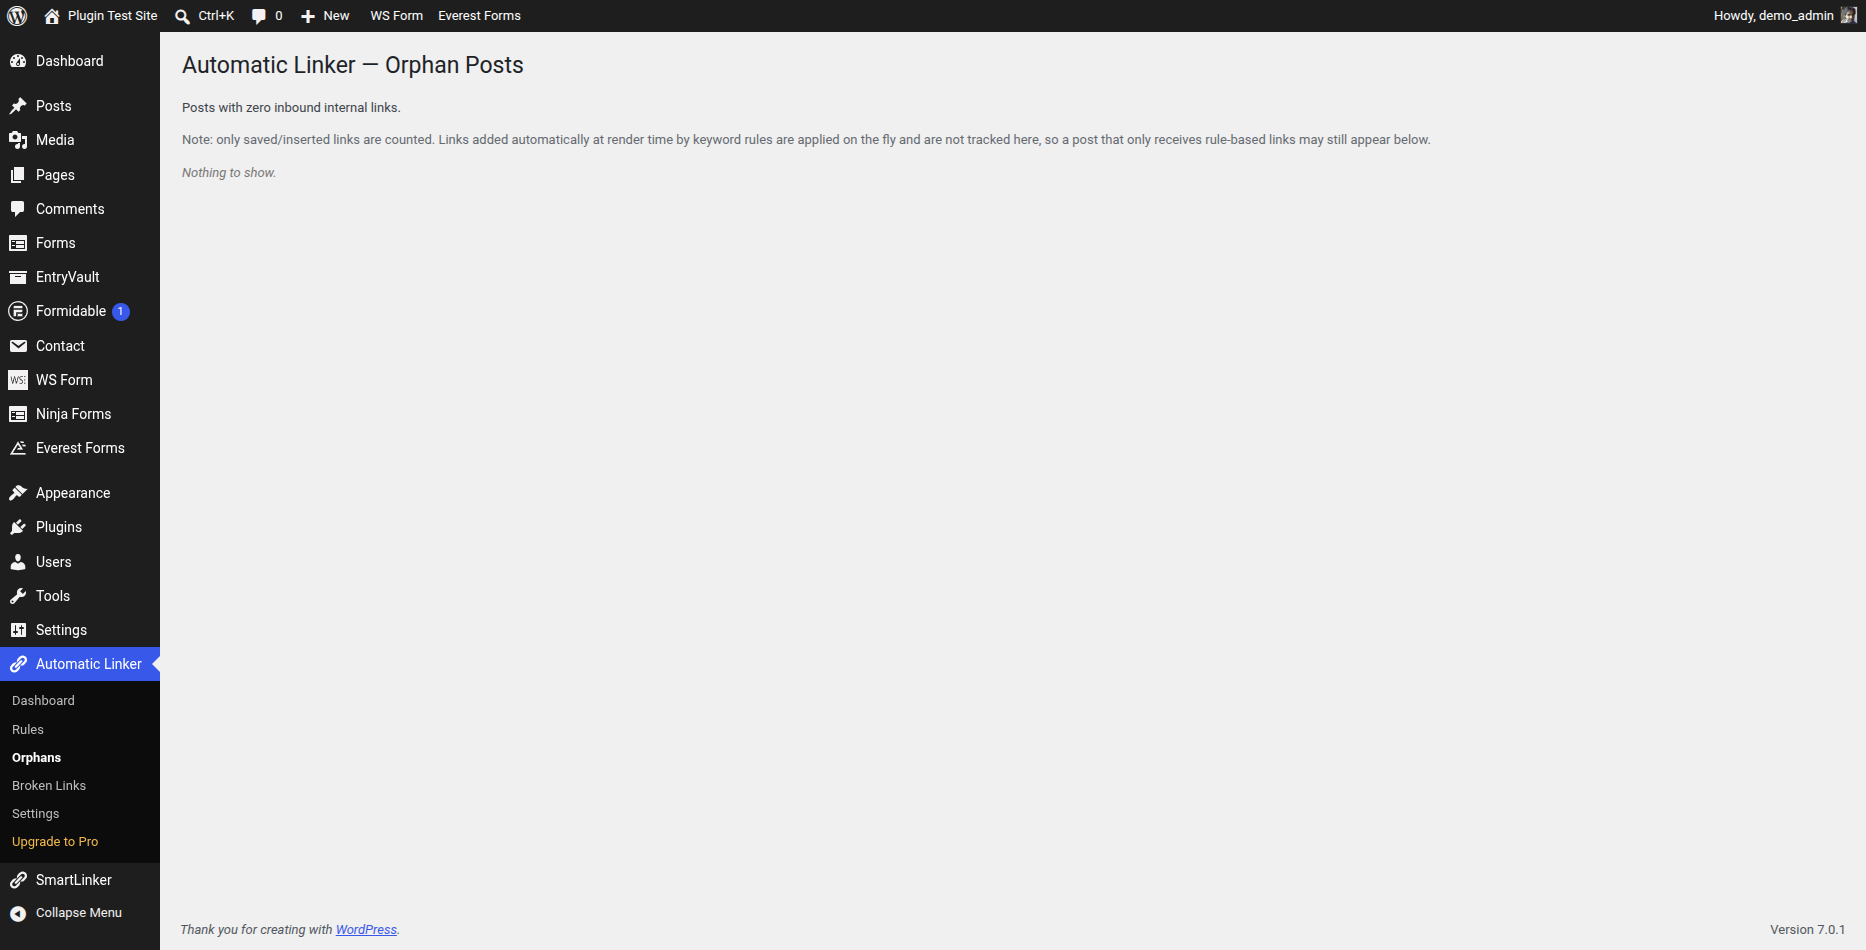
Open the orphan-content report to see every page on your site that has zero incoming internal links. Then work through the list: for each orphan, find a relevant existing post and add a link pointing to the orphan (the editor sidebar makes finding a natural home easy). This single habit — regularly clearing your orphan list — often produces the biggest ranking improvement, because it puts previously invisible pages back into your site’s link graph.
Step 5 — Check the broken-link report
Links break over time: you change a slug, retire a page, or move domains, and suddenly internal links point nowhere. Broken internal links waste crawl budget and frustrate readers. JnK Linkweave’s broken-link report flags them so you’re never guessing.
In the free version the report is read-only — it tells you exactly what’s broken so you can fix each link manually. If you manage a larger site or migrate often, Pro adds one-click broken-link repair and bulk URL changes, so after a slug rename or a domain move you can update every affected internal link at once instead of editing posts one by one. Pro also lets you export any report to CSV, which is handy for handing an audit to a client or tracking progress over time.
Step 6 (optional, Pro) — AI re-ranking with your own key
The core TF-IDF engine is fast, transparent, and free — and it’s genuinely all most sites need. If you want an extra layer of nuance, Pro offers optional AI re-ranking via BYOK (bring your own LLM key): you connect your own provider API key, the model re-scores the suggestions for relevance, and you pay the AI provider directly with no per-suggestion markup from us. It’s strictly optional — think of it as a refinement on top of a system that already works well, not a requirement to get value from the plugin.
Internal-linking best practices
- Link relevantly. Only connect pages that are genuinely related in topic. A relevant link helps readers and passes meaningful context; an unrelated one just adds noise.
- Use descriptive anchor text. The clickable words should describe the destination (“our internal linking best practices guide”), not “click here.” Descriptive anchors help both readers and search engines understand what they’ll get.
- Don’t over-link. A handful of strong links beats a paragraph peppered with them. Over-linking looks manipulative and buries your most important links. This is exactly why the max-links setting in Step 3 matters.
- Link in both directions. When you publish something new, link out to relevant older posts and add links from a few of those older posts back to the new one.
- Revisit periodically. Re-run the orphan and broken-link reports every month or two so your internal linking stays healthy as the site grows.
Wrapping up
Setting up automatic internal linking in WordPress with JnK Linkweave takes about ten minutes: install the plugin, let it index, work the editor-sidebar suggestions as you write, add auto-linking rules for your cornerstone pages, and use the orphan and broken-link reports to keep everything tidy. The free core covers all of that with unlimited rules and no cloud dependency — and if you outgrow manual fixes, Pro’s bulk repair, CSV export, and optional AI re-ranking are there when you need them.
Ready to give it a try? Grab JnK Linkweave and start clearing your orphan list this week. And if you’re weighing your options first, see how it stacks up in our Link Whisper alternative comparison.
Related reading: how JnK Linkweave stacks up in our best internal linking plugins roundup, and our in-depth Link Whisper review if you’re comparing the two.
Frequently asked questions
How does automatic internal linking work in WordPress?
The plugin indexes your posts, scores how topically related they are (JnK Linkweave uses a transparent TF-IDF / cosine-similarity model), and either suggests relevant links in the editor or auto-links keywords you map to target URLs. You stay in control of what actually gets linked.
Is automatic internal linking good or bad for SEO?
It’s good when the links are relevant, descriptive, and not overdone — which is exactly why the max-links-per-phrase setting matters. The risk is over-linking or forcing irrelevant links; used sensibly, automatic linking simply keeps up a healthy internal link structure you’d otherwise skip.
How many internal links should a post have?
There’s no magic number, but two or three strong, relevant links per post is usually plenty. Aim for helpfulness, not volume — a handful of well-placed links beats a paragraph peppered with them.
What is orphan content in WordPress?
An orphan is a post or page with no incoming internal links — nothing on your own site points to it. Search engines discover and weigh pages partly through internal links, so an orphan is harder to crawl and tends to underperform however good it is. Regularly clearing the orphan list is often the single biggest ranking win available.
How do I stop an auto-linking plugin from over-linking the same keyword?
Set a maximum number of links per phrase and per post, which any competent auto-linking tool exposes. Without a cap the same keyword can be linked a dozen times on one page, which reads as spam and dilutes the value of each link. One link per phrase per post is a sensible default.
Does automatic internal linking need a cloud service or API key?
Not necessarily — it depends on the tool. A TF-IDF or cosine-similarity engine scores how related your posts are and runs entirely on your own server, so there is no account signup, no API key and no content leaving your site. Only optional AI re-ranking needs a key, and bring-your-own-key means you pay the AI provider directly.
Related reading
- How to find and fix orphaned pages — the posts nothing links to yet
- Automatically linking affiliate keywords — the same engine, pointed at monetised links
- How many internal links per post — sensible per-post limits before you switch on auto-linking